Pages

Showing posts with label Home Decor. Show all posts

Monday, 18 August 2014

Egyptian Hieroglyph Wall Remnant

I fell in love with the idea of Ancient Egypt as a child.  I used to read all the books I could get my hands on until I started getting nightmares after learning too much about the embalming process.  Those people were a bit macabre and had a slightly obsessive relationship with the afterlife.

Years later I finally went to Egypt.  On my to-do list every holiday, is go shopping for the perfect souvenir.  I was surprised and quite disappointed to find that Egypt (at least where I was looking) didn't really have much in the way of cool arty stuff - unless you want some bright, gaudy papyrus paintings - which in the end is what I bought.

So on my return I decided to make my own Egyptian souvenir.  I found an image of some hieroglyphs and thought it would be cool to have my own chunk of wall  - a piece of a pyramid, like the early archeologists used to do. What vandals! 


My very own section of an ancient Egyptian wall, covered in hieroglyphs.

Stained Glass Door Re-Paint

The door is repainted and the stained glass now looks fab I think.
See original post below.
http://foresttea.blogspot.co.nz/2012/11/diy-painting-stained-glass-door.html

Tuesday, 30 April 2013

Floral Chair Covers

I was looking for a completely different kind of chair cover on a google search for chair covers, when I came across this image:
wedding chair covers
Preston Bailey: http://blog.prestonbailey.com/2010/03/29/is-it-better-to-go-naked-or-covered/
Seems like weddings are the kings of chair cover searches in google (or should that be princesses?)

Such a cute idea.  Why not have it for everyday.  Seems a shame to have something like that only for one day.  What a nice way to start the day - sitting on one of these and having some lovely breakfast in the morning sunshine....

What was I actually looking for?  Something to keep my chairs protected from small children.

Now I'm going to be sidetracked working out how to make those flowers.  Great way to upcyle some boring old chairs.

Thursday, 6 December 2012

Fabric Tree Stack Wandering

Spot the tree
I gave the best made tree (of the two I've completed so far) to my craft buddy Suzy at our end of year secret Santa (ok not so secret) gift exchange.  Mr Mover moved in and lived on the shelf above for a while.  See if you can spot him.

Today I got this message:
Someone is on an adventure! This is where I found the tree 
this morning. Suz


He reminds me of those travelling gnomes.  But he seems to be hanging around for now.

How to make can be found in my previous post Fabric Tree Stack Christmas Decorations.

Thursday, 15 November 2012

DIY Painting Stained Glass Door - Shortcut Fails

I have an old-ish house with a stained glass front door.  It has been made with some inferior glass I guess.  The little opaque squares seem to be proper stained glass, but the other pieces must have been painted then fired (rather than the colour going all the way through).  They have faded badly.
painting on stained glass
So faded!

I have been googling all over the place trying to find a glass paint that I could use.  I started out looking at Pebeo's Vitrea 160 range which is down at the local Spotlight store.  However they didn't stock the colours I wanted (only stocking the bright-primary style hues).  I wanted the Tea Green and Crimson. 

I was also dubious about the fact that I wouldn't be able to bake the glass once painted.  I'm going for a quick fix here.  There's no way I'm going to take out each panel, paint and bake and then put pack in.

So I went for the Lefranc & Bourgeois Vitrail range which have slightly different colours but no mention of baking. I chose Olive Green and Violet.

The main thing to remember is that I am painting over colour that is already there.  It has faded in places, but any colour I chose was always going to have a yellow base.  So although I chose a purple, it will mix with the yellow to create a red-brown.  Any green I choose will have extra yellow tones.

However nothing is ever as straight-forward as you'd like.  I washed the glass with spirits as per instructions (normally I never do things properly) but after the initial diligence, I sadly didn't pay attention to something I saw mentioned somewhere about making sure to use a soft sable brush.  I used a chisel bristle brush which meant all the brush strokes showed very clearly.  Not the effect I was after.  So I had to wipe it all off again with turps and start again.
Bristle Brush Bad for Painting Stained Glass
Don't use a hard bristle brush when glass painting.

Now my problem is that I used a very CHEAP sort brush so all the bristles keep coming out.  I have to keep flicking them out, which causes funny patches of either extra colour or too little colour or even worse - I miss them and then the brush hairs stay on the glass.  

When  will I ever learn that taking shortcuts doesn't pay??????

DIY Stained Glass Door
Very nice... but what's that stuck in the glass?

Click here to view finished result.

Tuesday, 5 June 2012

Pixelation and an Ode to All Things Square

I am in love with squares.  I love square paintings, frames, rubics cubes, square bedside tables, Charles Rennie Mackintosh (that's because I also love Art Nouveau and he made it more square), patchwork quilts (not ones with diamonds, or triangles - only squares), and pixels. 

The greatest things about photoshop is that you can pixelate an image into squares of any size you choose.  I have mentioned ixxi before and still have my version of Girl With a Pearl Earring to finish off for the hallway (but like everything else in my house still needs wall stripped of old wallpaper, replastered, sanded and painted.....hours of boring work).


There are also all sorts of programs I'm sure, for breaking down images into squares because that must be how they do it for cross stitch....  like KG Chart which apparently is free.  


The main thing to remember when pixelating something is the scale.  Say you are making a cot blanket - the dimensions are approx 110 x 130cm.  So if you are making each square 10cm, you can only have 13 squares by 11 squares. It would need to be a very simple image.  If you decide to go with 5cm squares, you have more to play with, but also twice the work.  It would be better to go with 7.5 cm which would mean 105cm x 127.5cm quilt, with 14 squares by 17 squares (but you can adjust to 15 x 18 squares) 


In Photoshop: go to Filter - Pixelate - Mosaic.  You can adjust the pixel size.  130 is about the limit for an image - so you can just tell what it is meant to be.  It is getting quite abstract though.

pixelated bunny rabbit
 
And then use the crop tool to crop the image to the number of squares the project will be.
pixelated bunny rabbit
This is about 14 x 18 squares I think.

Finally you need to find lots of scraps of fabric that are approximately the right colours.  If you went for something like this rabbit, it will eventually be difficult to see what the image is meant to be, but you'll have a lovely quilt in a neutral palette of browns and greens.  Way stylier than pink or blue.
The simpler the image, and fewer colours, the easier it is.  Easier is sometimes good, but not usually as interesting.

Monday, 4 June 2012

To Upcycle.....or not

There is a bit of a fashion at the moment for upcycling old wool blankets into nice looking but slightly scratchy cushions.  People are even appliqueing some interesting imagery on them....such as jandals.  Maybe you sit back on them to relax, itch, fidget, watch the rain outside and reminisce about summer days?

Or you could always forgo the trend and donate useful much needed blankets to organisations like Supportline Women's Refuge Trust who are very much in need of any blankets, linens, bedding, curtains or any household items.  A lot of their extra stuff went out to families after the Christchurch earthquakes and there are many families in need.

So maybe a blanket is better off staying that way - even if it has a stain or tear or hole.  Much more useful keeping a small child warm than as a fleetingly fashionable throw(away) cushion?

Wednesday, 2 May 2012

Owl Bunting

Ok so I've finally got a few pieces finished and have listed them over on felt.co.nz/shop/zandieroom

owl bunting
So far it's only my sets of owl bunting.  I do like them.  Who needs flags?

Sunday, 22 April 2012

Collage Foil Magnets

My cousin was the first person I saw making one of these.   I think it might have been a school project of his.  I made something very similar at school, using an old collage printing block project.  I have since changed the finish slightly.

You'll need thick/strong cardboard, textured items, tinfoil and magnet - the flat printed advertising ones are great to use.  Just rip off the advertising paper.  You'll also need PVA glue and some sort of paint / varnish / glass paint. 

Start by deciding what shape your magnet will be.  I made some fish for my boys.  Cut out the cardboard.  Then the fun part.  Children can definitely take part for this.  Think of things you can collage with that make different textures.  For the fish I used: netting from a smoked chicken, lace, foam netting from duty free bottles, buttons, string, beads, cardboard cutout shapes.  Take a look around and you'll find lots of different things you can glue.  PVA is good because it will dry flat, but if you like, a glue gun is faster drying, just lumpier.  You can also use a glue spray, but I find it sticks to my fingers too much with this type of collage and if you've got children helping PVA is the way to go.

Once fully dry (or dry enough that the textures wont slip around), cut a piece of tinfoil large enough to wrap around your magnet shape.  Cover collage with glue and gently press tinfoil over.  You are moulding the tinfoil over your collage textures.  Be careful around high contrast areas as the foil can easily rip.  Kids should be fine doing this too.  Theirs might not be perfect, but they are perfectly capable of doing this.  Glue your magnet to the back.


Give it at least an hour to dry a bit.  Now for the colour.  The easiest thing to do here is to get some glass paint and go crazy.  You can get a more painterly effect by mixing ink or dye with an acrylic varnish too.  Or paint is fine, you'll just lose the shine from your tinfoil.  When I did this at school, we used oil based printing inks in the way that you polish shoes.  I remember rubbing on a burnt sienna colour,  then buffing it off with a clean cloth.  The foil kept its shine and went a coppery colour.


Saturday, 21 April 2012

Decoupage People Puzzle Blocks

I found this project in an old book about paper crafts I think.  I went with the pictures they had in the book.  It took a few goes to get the template right for it.  Quite a fiddly project, but very cute once it's finished.  I was going to give it as a gift, but it took so long I decided to keep it.  I would use more magazine colours if I was going to do it again.  (like cutting out shapes from pics of grass/trees etc for green) I used old wrapping paper too which has fun patterns.


The tower block sizes I used were: 10cm, 8cm, 6cm, 4cm.  Next time I would make them hollow (5 sided) so you could more easily store them away.  But they do take a bit of effort to make so you're going to want to display them anyway.
The blocks were from some very thick cardboard I taped together and then did a few layers of paper mache on.  I then wrapped them in dark wrapping paper I had.

The 4 characters are: Fireman, Princess, Gypsy, Clown.  Draw up your templates and trace around onto chosen papers.  Cut out and assemble before gluing onto blocks.  Once all glued on, paint at least 3 coats of varnish.  Sand lightly between coats.


Yes, there is a bird on her head.


Wednesday, 18 April 2012

Outdoor Painted Bunting Flags

A long time ago as a sculpture student, I made 100s of cushions using calico and paint.  (It was a work about interior decoration and the practice of buying paintings to match the furniture.  The horror!)

I am someone who cannot throw anything into the rubbish without considering whether it can be reused, recycled or reimagined first.  Which has meant those cushions have been dragged around for a long time.  I have made all sorts of silly things with them, and just when I think they are now all gone, another bag of them turns up.

Lately I have been using them to make bunting.  They are perfect for this: the colour being painted with housepaint, doesn't fade, they are fairly rigid, and a little heavy so won't fly around too crazily, and very robust, unlikely to mould etc and can be scrubbed.  Perfect for outside (and inside too of course).

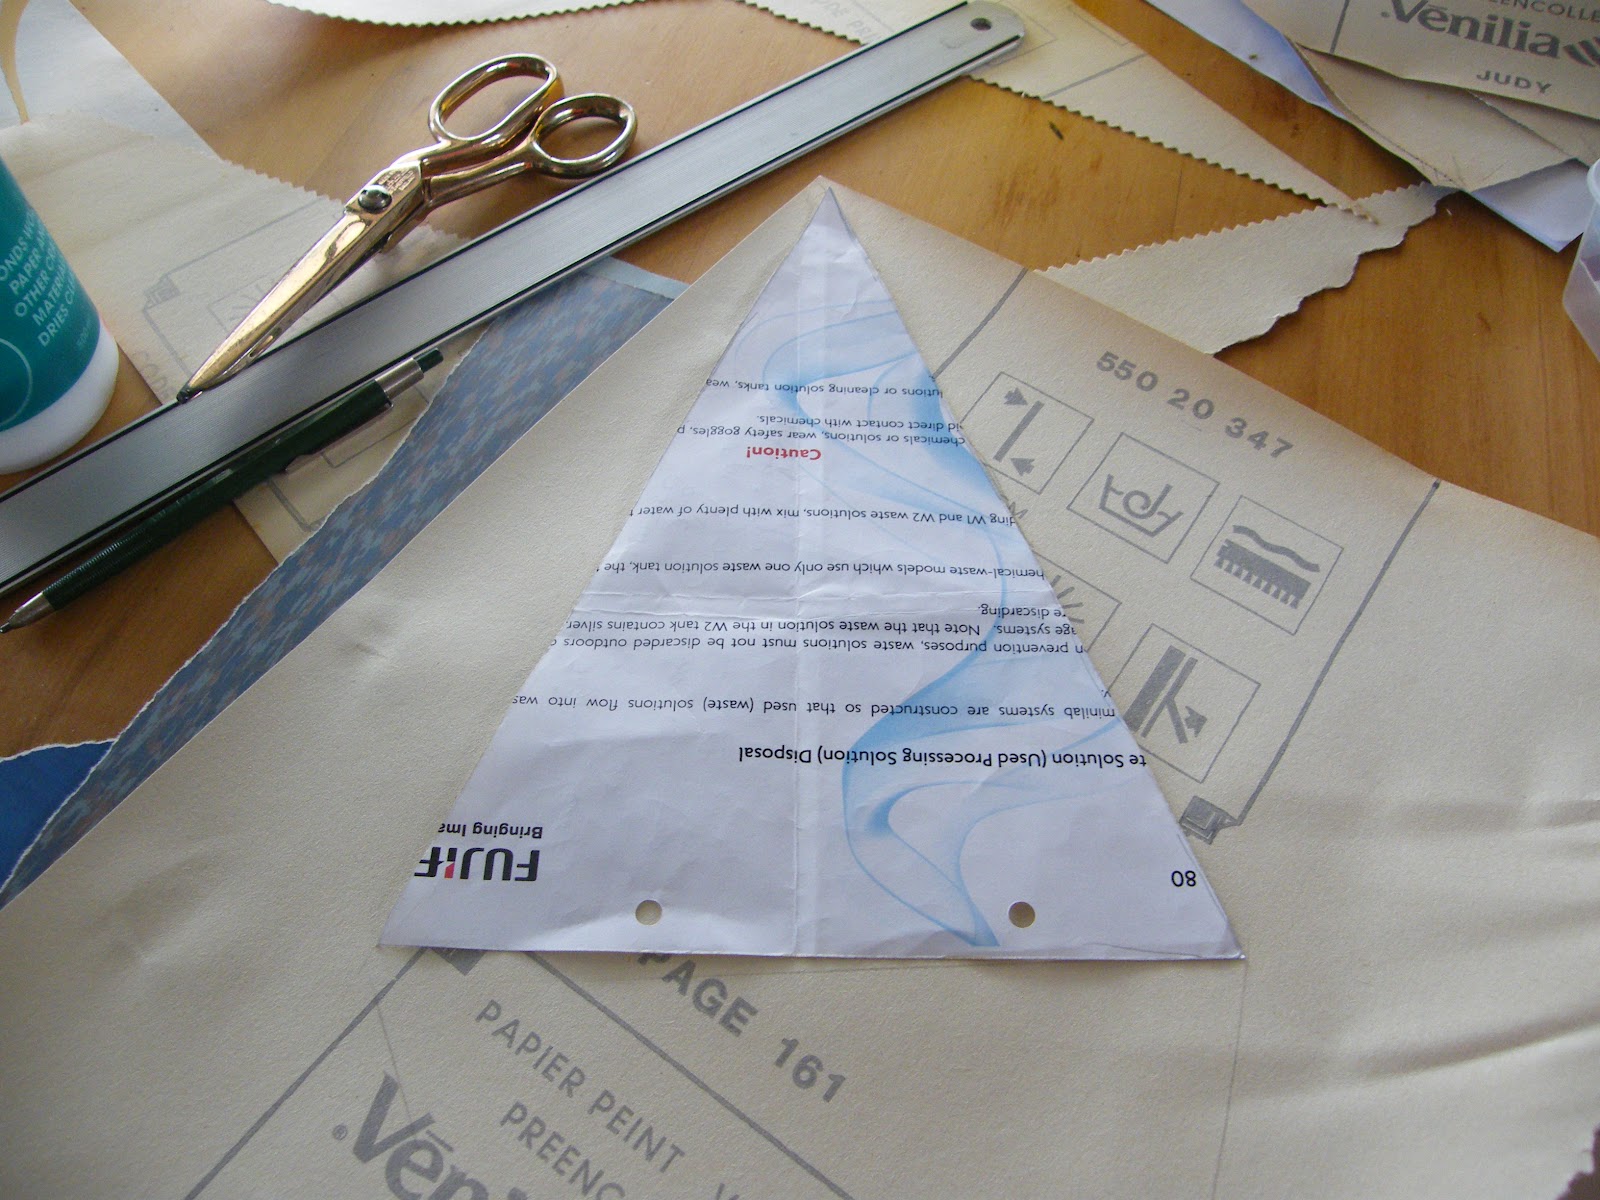
I cut out a whole heap of triangles with pinking shears.  Mine are about an 18cm base and about 25cm long.  Keep all the scraps and sew together into patchwork to make up more triangles.

outdoor painted bunting flags
You don't need to be complicated.  Just sew in straight lines. Cut any excess seam so that they aren't too bulky at the back.

Then using zigzag stitch (I just like the look of it better than straight, but up to you).  Sew one plain triangle to the back of one patchwork triangle.  Sew wrong sides together as you are not turning it out or anything.  What you sew is what you see.

Then when you have about 16 triangles at least, sew into the fold of some binding using a straight stitch this time.  Leave about a 5cm gap between each flag.  Sew alternating pattern to front, then plain.  This makes the bunting double sided so looks good from all directions.
You also want at least 15 - 20cm binding at each end to tie bunting to something.


In terms of upcycling, think of using old paint, old testpots etc.  Use acrylic.  Only one coat necessary.  Paint fabric with newspaper behind, as usually it will soak through.  Again, as you are just doing block colours, children can easily help.  If you don't want to make it a patchwork (is more work, but uses up all possible fabric so less waste) you can always paint your own patterns.  Stick some making tape down.  Use splodges and splatters.  An old toothbrush makes a great splatter brush.  I'd recommend painting outside for this as it would definitely be messy.
Use old curtains, old cushion fabric, old sheets, curtain lining, calico etc.  The paint should strengthen to a degree any slightly deteriorating fabric.


Monday, 16 April 2012

Collage Frames

I had been dragging a bunch of large wooden frames I picked up from a framing studio's rubbish about 15 years ago.  They sat in the garage of each house waiting....

In the end, I decided to give them the rainbow collage treatment.  This is time consuming.  Again, a good time filler or something to do while watching TV, listening to music etc etc etc......  Not everyone can knit, but collage is easy.

So choose your colour.  I have done a neutral one for my sister-in-law with whites, and an aqua one for myself.  Cut your mosaic tiles from LOTS of old magazines.  Paste onto the frame, overlapping pieces and smoothing out with your fingers.


I have turned the frames into blackboards.  Measure the frame at the back, cut a piece of plywood or MDF to required size and paint with at least 2 coats of blackboard paint, sanding in between coats. 


This is an unfinished red one for my other sister-in-law.  As I tend to give most of the things I make away, and I tend to make things at the very last minute, I never seem to have photos of anything completely finished.  Oh well.


Sunday, 15 April 2012

Rainbow Collage Blocks

This is a time consuming project, but quite good for a half-watching TV evening.  You can do this with older children (age 5+ depending on child's attention span).

You need: as many old magazines as it takes, wallpaper paste, wooden boards in whatever size you want.  It's a good way to use offcuts you might have lying around.

Choose a colour - say, RED.  Now go through your stack of magazines and cut out everything red you see.  No need to exactly cut each shape, just cut into mosaic tile shapes.    Once you think you have enough to cover the board, paste it and start sticking on your paper tiles.  Overlap them so that no board is showing through.  It's easiest to use your hands to smooth down the paper.  You can wrap them around the sides of the board too. 

If you like, you can cut out letters to spell out the colours.  You could paint the words also with a stencil if you can't be bothered finding letters in the magazines.  You could even try a 3D version and collage wooden letters before attaching them to the board.  Lots of ways to do it.

Makes a graphic sort of rainbow for children's rooms.


Monday, 9 April 2012

Pixelated Art

I have been obessed with pixelated images for years.  One of my end of year projects when I was studying sculpture was a huge (massive really - about 2 storeys high approx) pixelated mills & boon quilt.  I think it still remains one of my favourite things I ever made.  Will have to find the images of it. 

Anyway, I came across the website of a company called ixxi, who I think do the coolest pixellated images.  I immediately fell in love with The Girl in the Pearl Earring as a pixellated image.  So I photoshopped my own version and went to the local photo printer to print 200 or so individual block colour 6x4 prints (with the intention to cut down to 4x4). 

Only problem is, I realised I don't have anywhere to put it as the image will be about 1.3 x 2 metres high.  Still thinking what to do about that.  New house?  New furniture?

Saturday, 7 April 2012

Wallpaper Bunting

For my mum's 60th birthday picnic I bought a cheap gazebo. Using some of my wallpaper sample books I then made some lovely wallpaper bunting to make it slightly more festive.  Token effort, but cute, and being wallpaper it lives on to liven up another party.

Cut out your triangle template and if you are clever, you will double it up to become a diamond.  If you are like me and like to save time so that your project takes twice as long to do, stick with the triangle....


So you need a piece of wallpaper big enough to fit a diamond (two triangles end to end).  Easier to have the diamond in one piece because you then fold it in half ready to hang over a cord and wallpaper/cellulose paste together.

....and the pictures ended up sideways.  How did that happen?  Well they can stay that way.  Cool vertical grass wall.

Wednesday, 4 April 2012

Fabric Covered Coat-Hangers

Mitsuyo started this really, but after I had finished covering my shoeboxes, I had some leftover strips of fabric that I was going to throw away.  I suddenly remembered Mitsuyo cutting strips of fabric and wrapping them around a plastic coathanger.

fabric covered coat hangers


All you need is some double-sided tape, and some fabric scraps. 
Cut a section of tape.  Unpeel one side of the tape and stick down onto hanger.  Then gradually peel back the top layer of tape and begin sticking on fabric.  You need to fold under one edge of the fabric and start at top of hook.

You only need to fold under one edge of the fabric (because this is the edge that is edge that is visible on top).  The raw edge gradually gets covered as you wrap it around.  I recommend you try it out before sticking on tape if you need to visualise it..  It's very easy though.

I was going to put my hanger in the boys' wardrobe, but realised how great it is at holding cardigans etc, which usually slip off plastic coathangers.  So I'm keeping it. Mitsuyo cut off the little hooks at the bottom of the hanger, but I decided to keep them as they can be useful.  I just had a little hassle wrapping around them.

fabric covered coat hanger

Such a good way to use up fabric scraps.  Brilliant

Monday, 2 April 2012

Fabric Wrapped Boxes

One of my new year resolutions was to reduce clutter.  I decided that I have to use all the fabric I currently have (except for any specific immediate projects). No more stockpiling or hoarding.  I also need to organise my current clutter and knick-knack keepsakes that for whatever reason I find impossible to get rid of.  Therefore when my sister-in-law had a pile of shoe boxes to throw out I reneged on my resolution.  However, it was all part of the master plan in a roundabout way.  And so is this introduction.

I chose two shoe boxes to stack.  One slightly smaller to stack on top. 

Paint out any text that might show through the fabric.
Very badly trimmed excess.  I ended up finishing the edges with masking tape.  It's the inside.  No one is going to notice, unless you're making it as a gift and then I suppose you could line inside with fabric too.
I put box on my chosen fabric and cut enough of an allowance around it to go up the sides and a bit over the edge (just as if you are gift wrapping something).  I used spray adhesive on the box and wrapped fabric around box.  Trim excess inside and then tape down edges to neaten.

Same goes for the lid.  Maybe try lid first as it's smaller and a bit easier as sides are shorter. Also remember that the added thickness of fabric over the box will make the lid a much tighter fit.  So choose boxes with a generous lid.  If it's already tight fitting it will be too tight.

I only used two boxes because that's all I had enough fabric for.  I have a third smaller box, and just need to choose maybe a plain red or blue fabric to complete the set.

My lovely Japanese fabric that was too annoying to sew into clothing was perfect for covering a box.  Now I get to admire it all the time and my dressing table clutter can disappear.


Sunday, 1 April 2012

Framed Wallpaper

 I was invited to my step-niece's 21st birthday.  It was a girls-only party with a high tea theme.  She even borrowed her great-grandmothers teacup sets for the occasion.  It was a really lovely afternoon and evening with her gorgeous friends and all the women in her family.  I decided to make her a framed picture of a tea cup using wallpaper.  I attached the pieces by sewing them together.   And it was for all the guests to sign the back of it.  (Much like people do with those wooden 21st keys, but a more dainty version).  I used a sheet of acetate to protect the wallpaper instead of glass, but next time think I will skip any protection altogether.  Wallpaper is designed to be durable after all.

Here are some versions I have done for myself and another friend, but just using one piece of wallpaper as the patterns are detailed enough to admire for themselves.
Wallpaper I bought from a garage sale. 


Wallpaper from a roll we found in a cupboard when we moved in to our house.

Wallpaper from a sample book.
All these wallpaper frames are upcycled obects.  I have used old frames that we no longer use or ones from charity shops and I spray paint them white.  Same goes for all the wallpaper.  I recommend going to local paint shops and seeing if they have any old sample books lying around.  The papers in those will keep you going for years.  I got 5 sample books about 15 years ago and am still using them for projects.  Some of the patterns have come back into fashion now!